XTerm introduction and TrueType fonts configuration
Over the weekend I started playing with changing Vim's cursor colour and shape depending on the editing mode (see Micah Elliot's great post Vi-Mode Ubiquitous Cursor Indicator). Unfortunately, GNOME terminal doesn't support cursor codes. As I spend most of my time in i3 it got me thinking about using a more light-weight terminal emulator, XTerm.
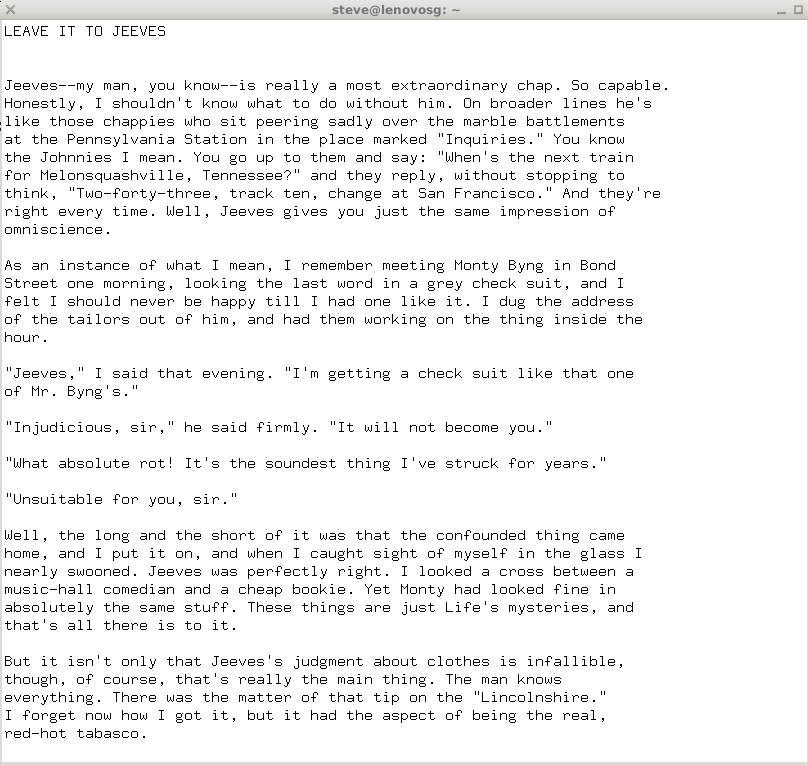
Figure 1: Not a great initial impression ...
I suppose like everyone I used XTerm a long time ago, but as the default environments went with more sophisticated options I haven't kept up with it. It's got a lot going for it including speed, flexibility and memory size. The initial bare-bones launch isn't particularly encouraging, but there's a lot we can do with it. The manual page for it is gigantic and takes a long time to get through, so I'm going to cover the important basics.
Configuring XTerm
XTerm can be configured through command line switches, or through X11 resources [1]. X11 resources aren't used by modern X UI toolkits (e.g GTK+/KDE) but they're pretty powerful. The important thing to know is that X is object orientated so the configuration strings are matching object paths in the X server. To use X11 resources the steps are:
- Put configuration into ~/.Xresources
Technically, it can be any file you want and you can include others, but this is the standard one to use.
- Merge in changes to a running X session with:
X loads configuration into itself using the xrdb command:
$ xrdb -merge ~/.Xresources
$ xterm &
- Inspect changes
To check it's loading the X resources go to the new XTerm and use xrdb again. The output should be the same as the .Xresources file you loaded. Errors are written to ~/.xsession-errors (though I didn't use this):
$ xrdb -query
For manual testing that's fine, but depending on how you're starting X you have to tell it to load in the X11 resources that you've defined. I'm using startx so in my .xinitrc I have:
if test -f "$HOME/.Xresources"; then
    echo "merging ..."
    xrdb -merge "$HOME/.Xresources"
fi
Setting a font
We can improve XTerm's looks by setting a nice looking font. Fonts in X are a mess as there are old and new systems, luckily end-users don't generally see this. But for XTerm, we have to explicitly configure the font we want. The important difference is that there are old-style bitmapped fixed width fonts and newer TrueType fonts. Lots of advanced users prefer using bitmapped fixed width fonts in a terminal, search Google for more information. Personally, I prefer a TrueType font with fixed width. This is how you configure them for XTerm:
- Install any font you want from the repositories
- There are lots in the Ubuntu repositories.
$ apt-get install <some font>
$ apt-get install fonts-liberation
$ apt-get install fonts-inconsolata
- Find a font that you like
- Use fc-list or gnome-font-viewer to view true type fonts. Advice to use xlsfonts or xfontsel is to view old style bitmapped, fixed width fonts. The first line below is the best one to use as this will show you the true type fonts that are installed which have a mono spacing option.
# print out the fixed width fonts that are available with their family name
fc-list :scalable=true:spacing=mono: family

# sort and page through the available fonts - not only fixed width fonts
$ fc-list | cut -f2 -d| | sort -u | less

# grep for a specific font
$ fc-list | grep Ubuntu
- Run it in XTerm to test
- Where -fa is a short-hand for font face and fs is a shorthand for font-size. Note, that some advice says to use an option for font or fn which is for old-style bitmapped fonts only.
$ xterm -fa <truetype font> fs 12
$ xterm -fa "DejaVu Sans Mono"
$ xterm -fa "Ubuntu Mono" -fs 10
- Set-up in ~/.Xresources
- Note, that you can set this up as either XTerm*faceName if you want any application that uses that X class to use the setting, or xterm*faceName which is the instance of XTerm.
xterm*faceName: Ubuntu Mono
xterm*faceSize: 10
xterm*renderFont: true
- Merge .Xresources and check
- Merge and then to double check use appres or xrdb -query
$ xrdb -merge .Xresources
$ xterm &
# change into the xterminal and from there do
$ appres XTerm xterm
xterm*background: Black
xterm*faceName: Ubuntu Mono
xterm*faceSize: 12
xterm*foreground: grey
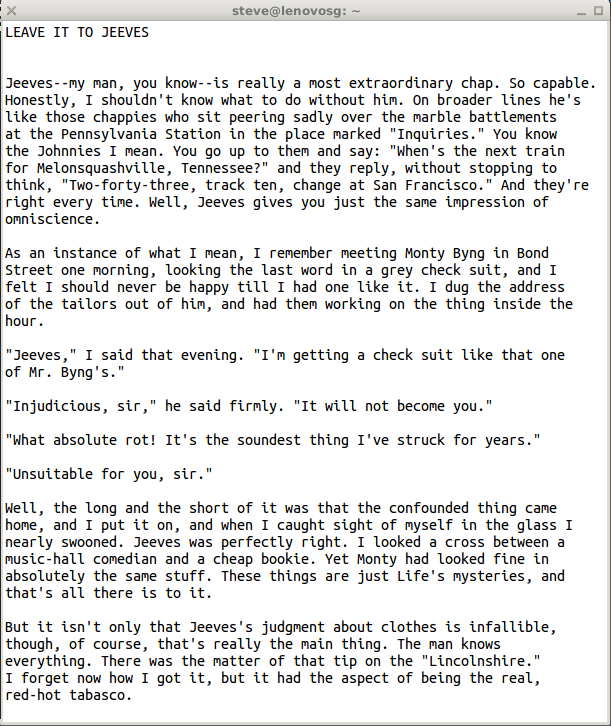
Figure 2: A beautiful looking Ubuntu Mono truetype font
Cut and paste
Another bit of X history. Original X applications (like XTerm) use the 'primary' clipboard which is ephemeral, the text only exists in the clipboard while it is highlighted and until something else is highlighted. After you highlight something you can paste it with the middle mouse button (or Shift+Insert). It's quite difficult to do on a laptop and users coming from Windows/Mac hated it, so modern GNOME apps and Firefox use the 'clipboard' which is the CTRL-c/CTRL-v keyboard short-cut.
To tell xterm to use the standard Ctrl+Shift+c and Ctrl+Shift+v in the same way as gnome-terminal you add:
xterm*VT100.Translations: #override \
    Shift <KeyPress> Insert: insert-selection(CLIPBOARD) \n\
    Ctrl Shift <Key>V:    insert-selection(CLIPBOARD) \n\
    Ctrl Shift <Key>C:    copy-selection(CLIPBOARD) \n\
    Ctrl <Btn1Up>: exec-formatted("xdg-open '%t'", PRIMARY)
There are a few different options on how to configure this set-up, David Simmons seems to be the original source, and I'm using the one from Peskys log. An easier (non-standard) option would be to hold shift and just select with the mouse, for that see this post. And, finally you can install a clipboard manager like parcellite.
URL opening
In GNOME-terminal when you mouse over a URL it underlines it and <Ctrl>+<Left mouse> opens it, there's a similar capability in urxvt. The last line of xterm*VT100.Translations above uses the exec-formatted option to launch whichever application has been set as default for different URL types. To highlight a URL we do:
- Triple click
- Alt+Mouse click to launch
We can't use <Ctrl>+<Mouse button> as GNOME terminal does because it's a menu short-cut in XTerm.
It's using xdg-open which understands URL's and a variety of file types, for example text and pdf files. Note that it works when you have the full path of the file, or a URL like file:///home/user1/Documents/Example.pdf, as it only knows about the selection. In Ubuntu the character classes are set-up already so this is the only configuration required.
Selecting text
The ways to select text are sophisticated, it works as follows:
- Double click to select a word, URL or email address
- To extend a selection right click on the new end point, or right click and drag to create the new selection.
- To select a whole line, three clicks
There are other options you can configure yourself for more complex set-ups. These options reduce trailing spaces when selecting:
! Only select text
xterm*highlightSelection: true
! Remove trailing spaces
xterm*trimSelection: true
Scrolling
To scroll back up through the output use either the scroll-wheel on the mouse, or Shift+PgUp/PgDown on the keyboard. To set the amount of scrollback:
! Lines of output that you can scroll back over
xterm*saveLines: 4096
! Turn the scrollbar on, and put it on the right
xterm*scrollBar: true
xterm*rightScrollBar: true

! Do not scroll when there is new input e.g. tail -f /var/syslog
xterm*scrollTtyOutput: false
Final thoughts
That's enough for a basic, working XTerm with the most obvious settings defined. The next post focuses on setting up colour on XTerm as that's quite complicated, along with a few other bits and pieces.
| [1] | According to man xession this should be .Xresources and not .Xdefaults on Debian derived systems. See ArchLinux X resources Wiki page for a good, concise introduction. |
Posted in Tech Tuesday 14 June 2016
Tagged with tech linux xterm terminal